


This feature allows branch admin to add branch shift. To add new branch shift, please follow the steps below:
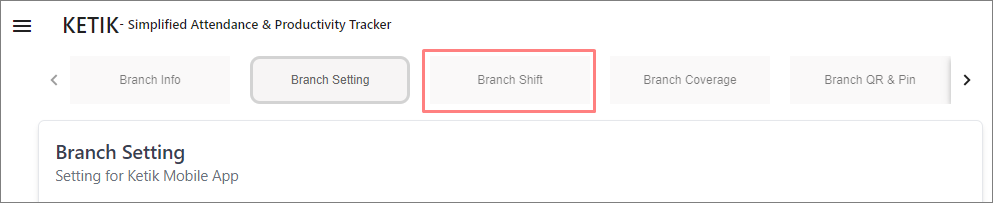
1. On the top center of the page, click on “Branch Shift” tab.
2. Now, you should be on the “Shift” page. Here, you can view the list of shifts of your branch.
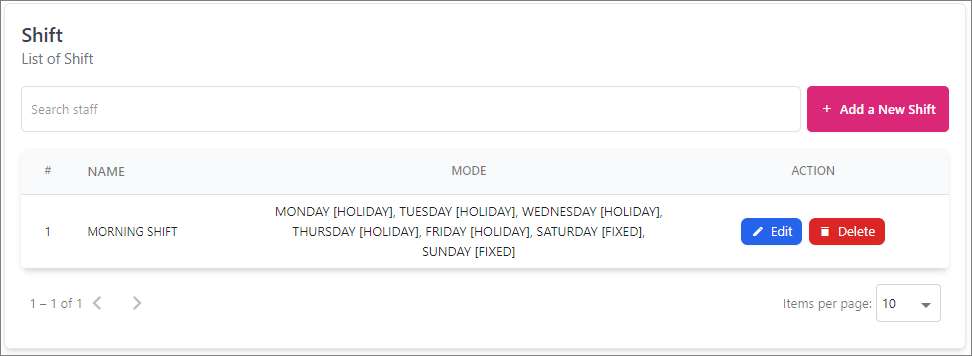
3. Click on “+ Add a New Shift” button to add new shift.

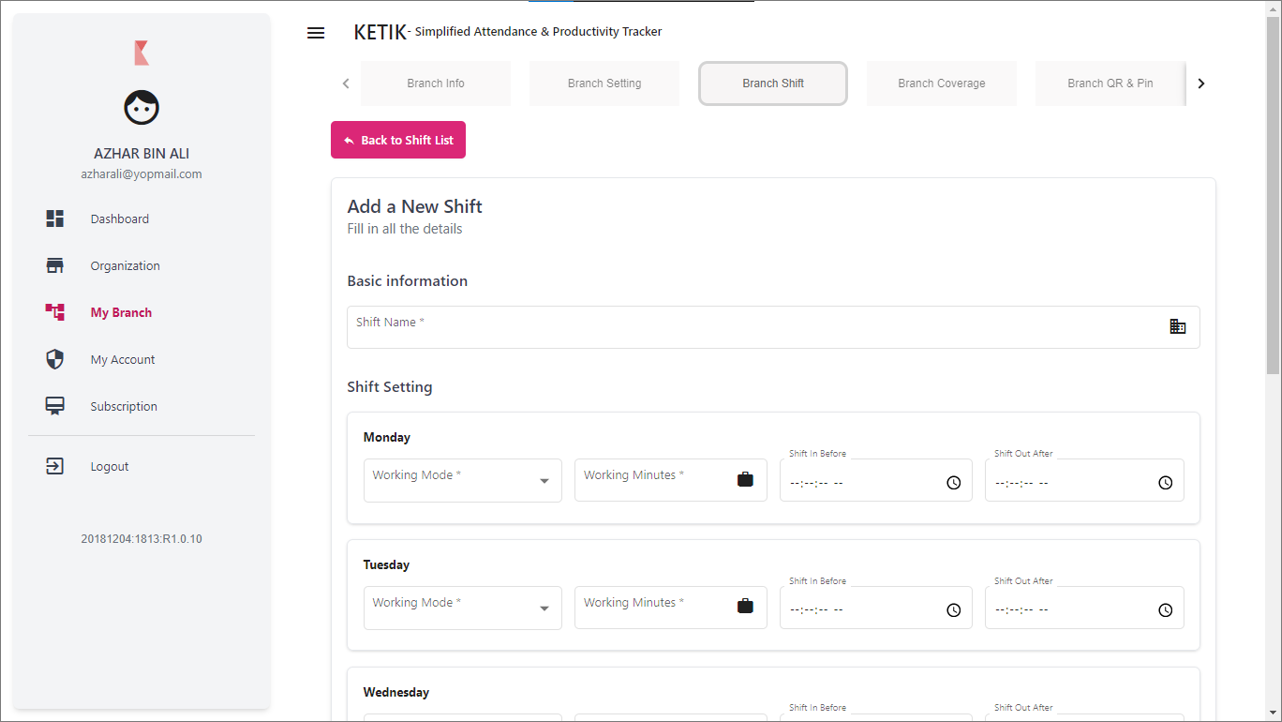
4. Now, you should be on “Add a New Shift” page. Fill all required data into the fields listed.
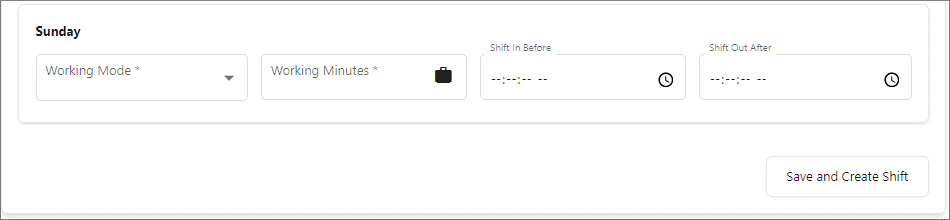
5. Once you are finished, click “Save and Create Shift” button and your new shift has successfully been created.